
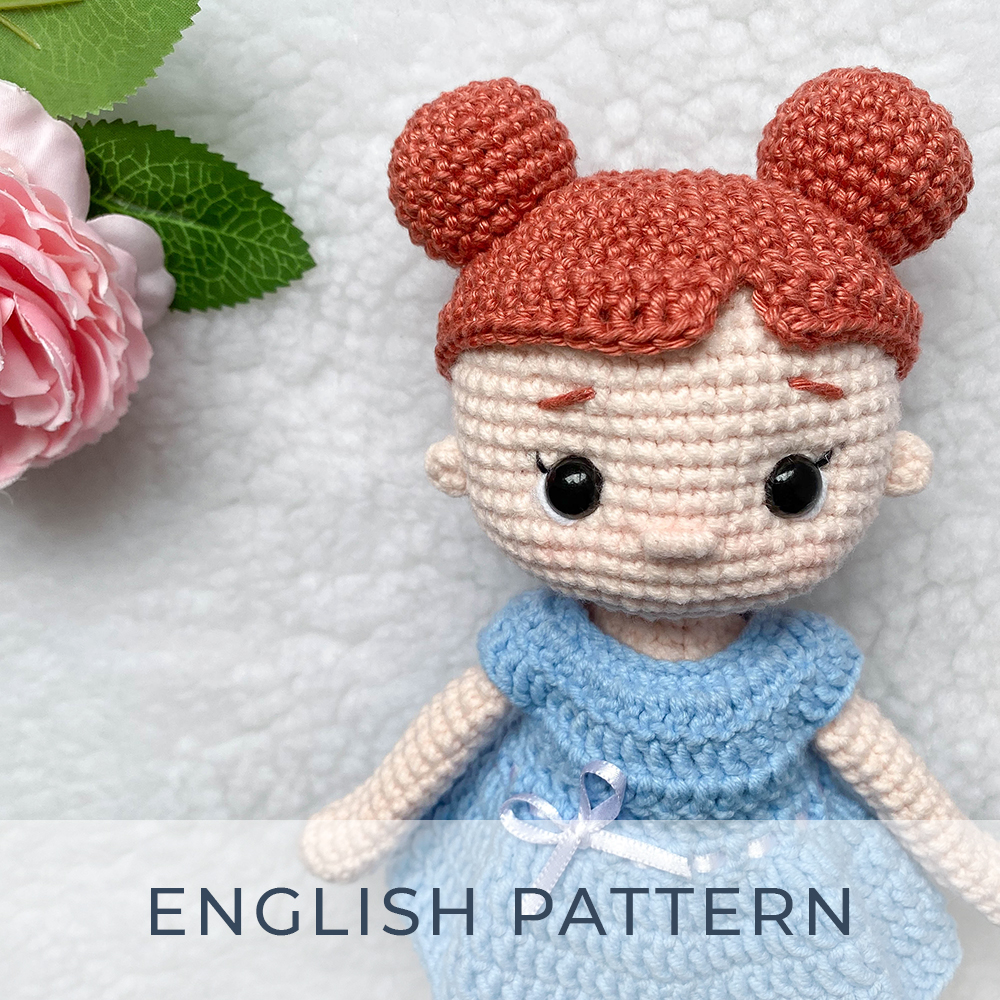
My doll Celina is a free pattern here on my blog Encantari!
Celina is a cute little doll ready to be yours!
MATERIALS
- DK or light worsted weight yarn in light blue, orange and your chosen color for skin
- 2.50mm crochet hook or size needed to match your yarn
- Stuffing
- 10mm safety eyes
- Scissors
- Tapestry needle
STITCH ABBREVIATIONS (US TERMS)
- st: stitch
- sc: single crochet
- inc: sc increase
- dec: sc decrease
- ch: chain
- slst: slip stitch
- hdc: half double crochet
- dc: double crochet
- dc-inc: dc increase
- BLO: back loop only
SIZE (HEIGHT)
23 cm
NOTE
The doll’s body is made without sewing. You start from the legs and crochet your way up into the body, then crochet the arms and body at the same time, next you’ll crochet the head making increases on the neck.
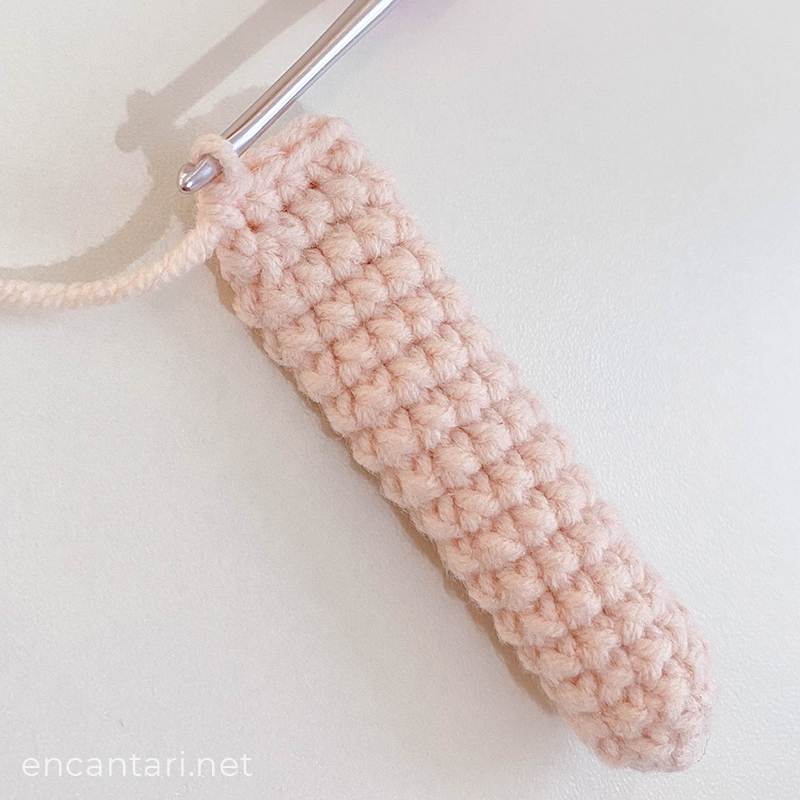
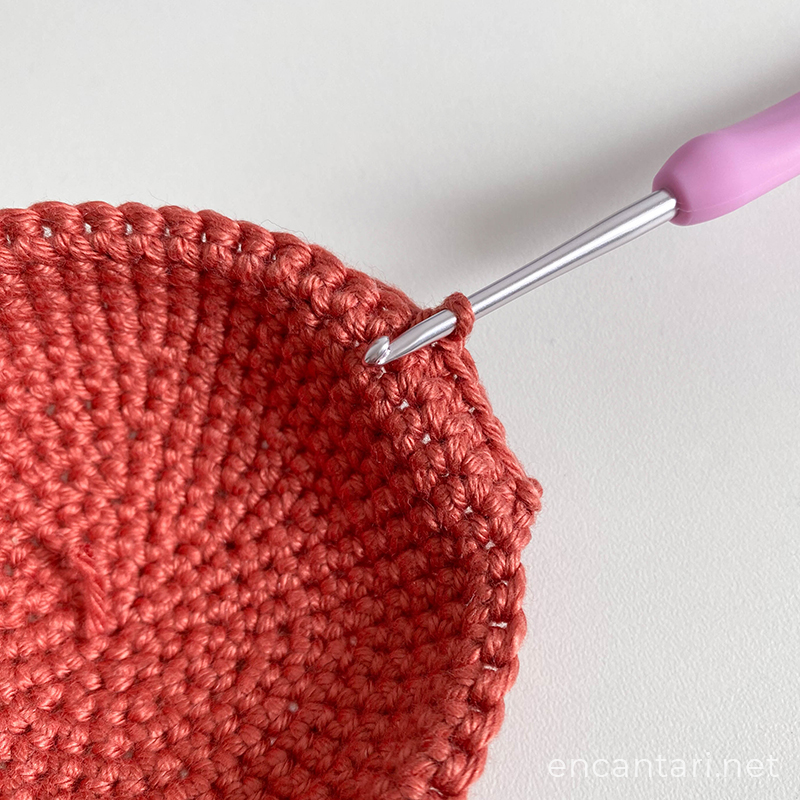
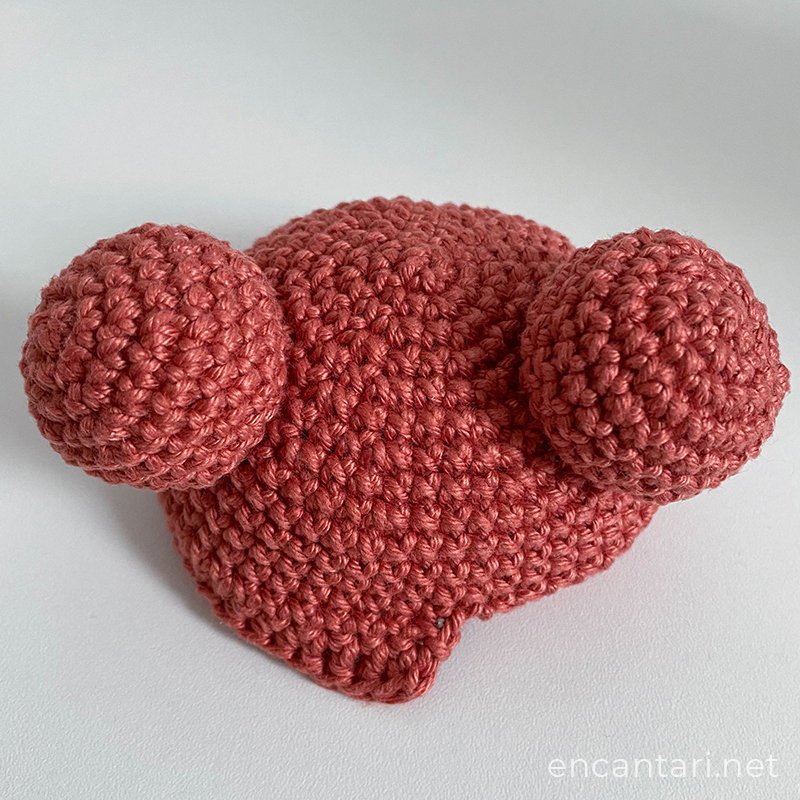
ARMS
Skin color.
1. 5 sc in magic ring
2. inc x5 [10]
3-16. sc in each st around [10]
17. (3 sc, dec) x2 [8]
The arms do not need stuffing.
18. Fold the last round and sc both sides together to close it. You now have 4 stitches.
Make 2.
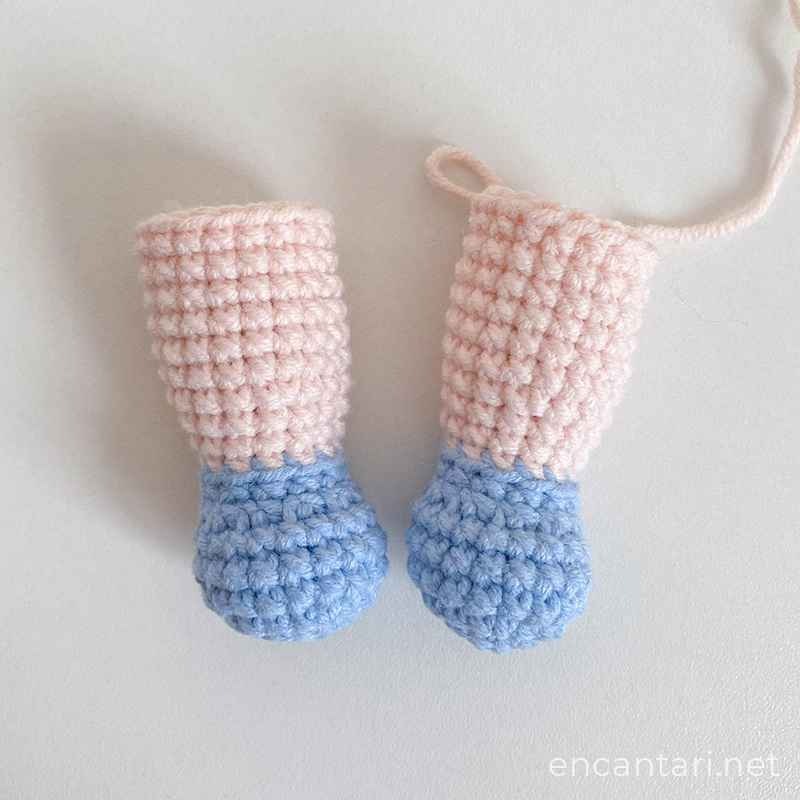
LEGS
Start with light blue.
1. 6 sc in magic ring
2. inc x6 [12]
3. (1 sc, inc) x6 [18]
4-6. sc in each st around [18]
7. 4 sc, 5 dec, 4 sc [13]
8. sc in each st around [13]
Change to skin color.
9. BLO sc in each st around [13]
10. 3 sc, inc, 5 sc, inc, 3 sc [15]
11. sc in each st around [15]
12. (3 sc, inc) x3, 3 sc [18]
13-18. sc in each st around [18]
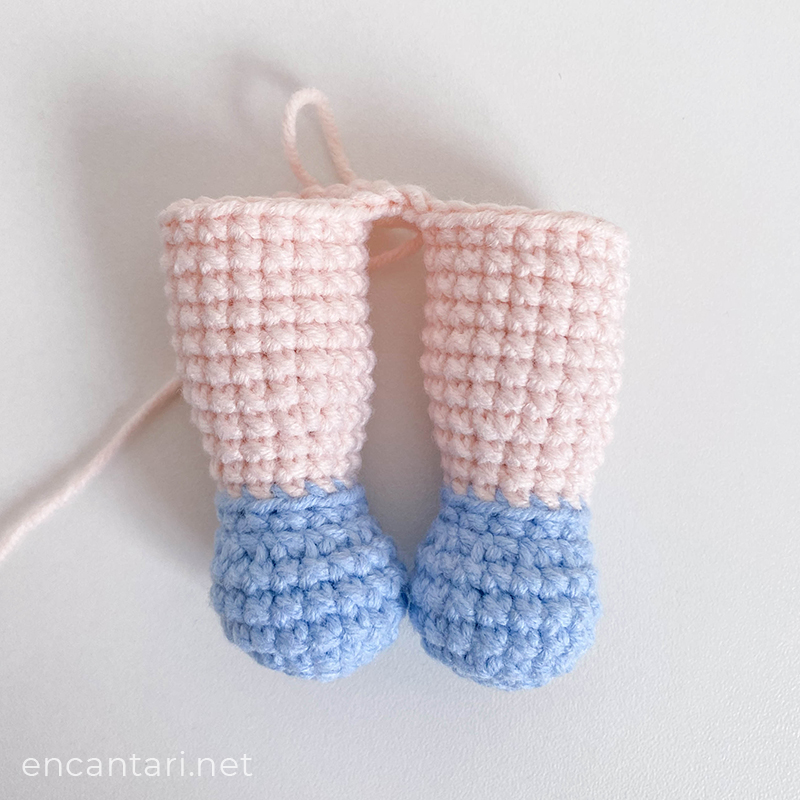
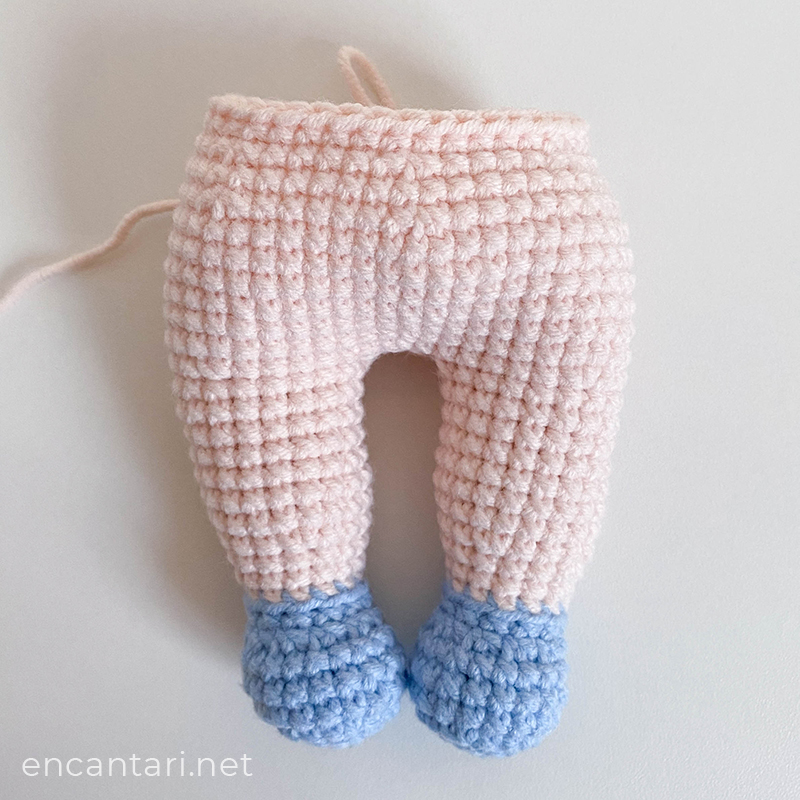
Make 2. Stuff the legs. Fasten off and hide the yarn tail of one leg and leave the working yarn on the other one. Now we’ll join both legs to form the body.
BODY
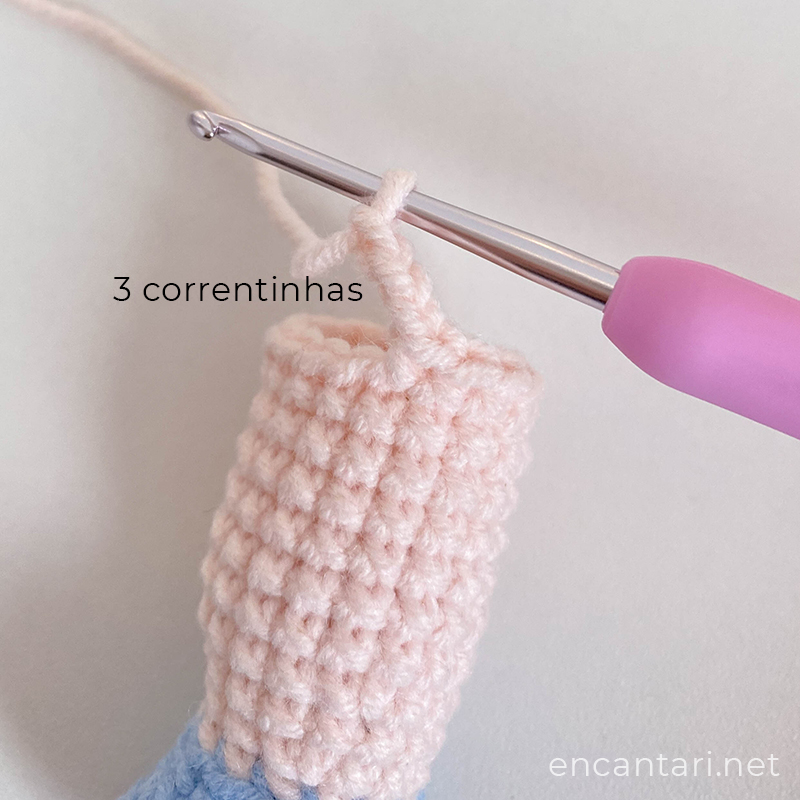
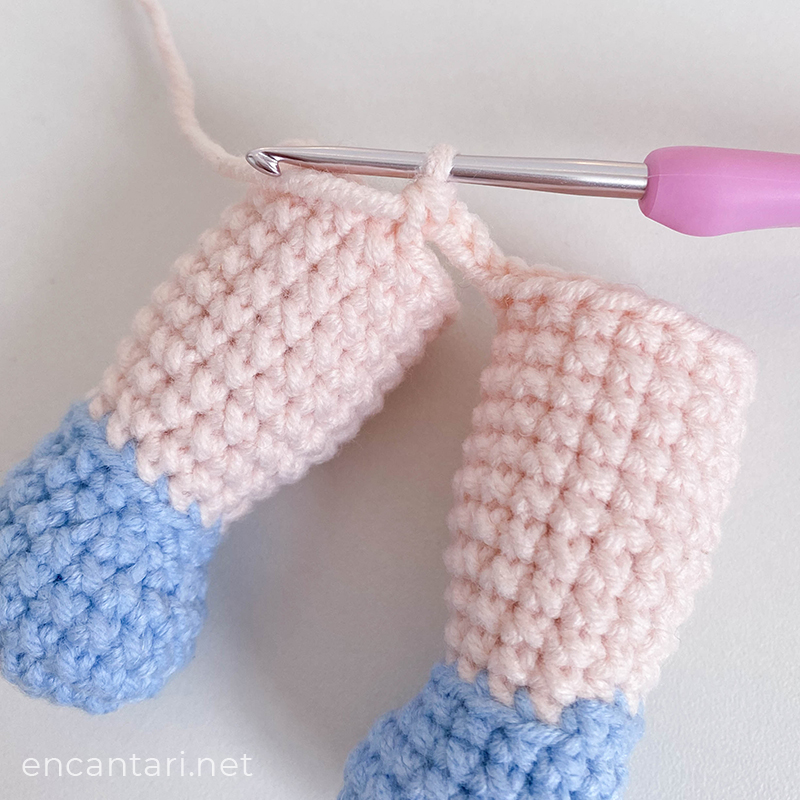
19. Continue on the other leg, sc on the next 6 stitches – this will make the last stitch stay in the middle of the side of the leg. If your last stitch isn’t on the middle, make 1 more st or undo 1 st. Now ch 3, sc in the 14th st in the first leg to join, sc in each st around this leg, sc in each 3 chains, sc in each st around of the second leg, sc in each other side of 3 chains [42].
Make sure the legs are facing forward when you join them, if not, make that join on the first leg one st before or after.
20. (6 sc, inc) x6 [48]
21-26. sc in each st around [48]
27. (6 sc, dec) x6 [42]
28. sc in each st around [42]
29. (5 sc, dec) x6 [36]
30-32. sc in each st around [36]
33. (4 sc, dec) x6 [30]
34-37. sc in each st around [30]
Stuff the body.
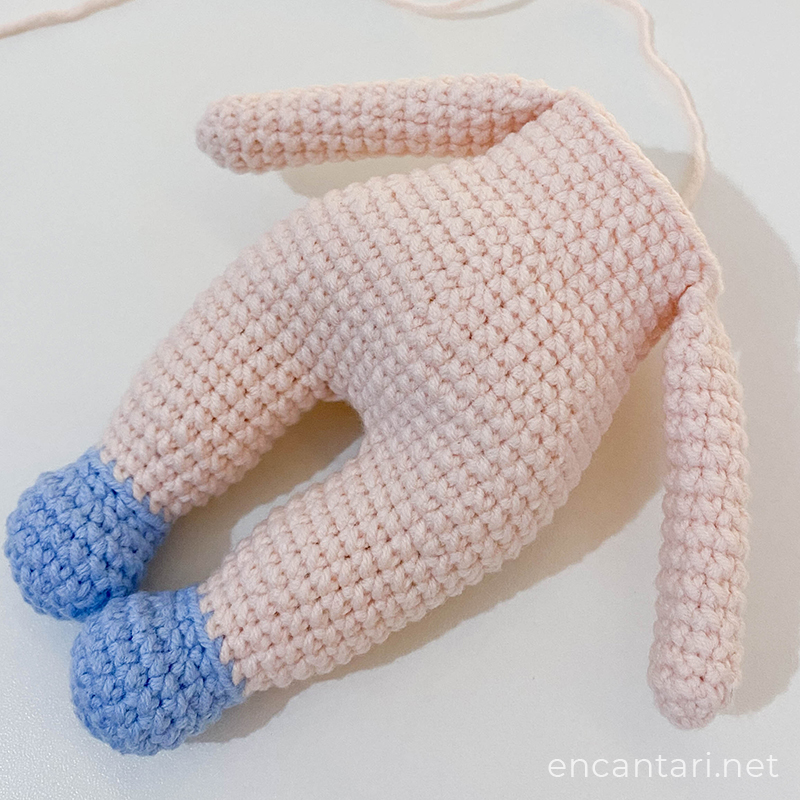
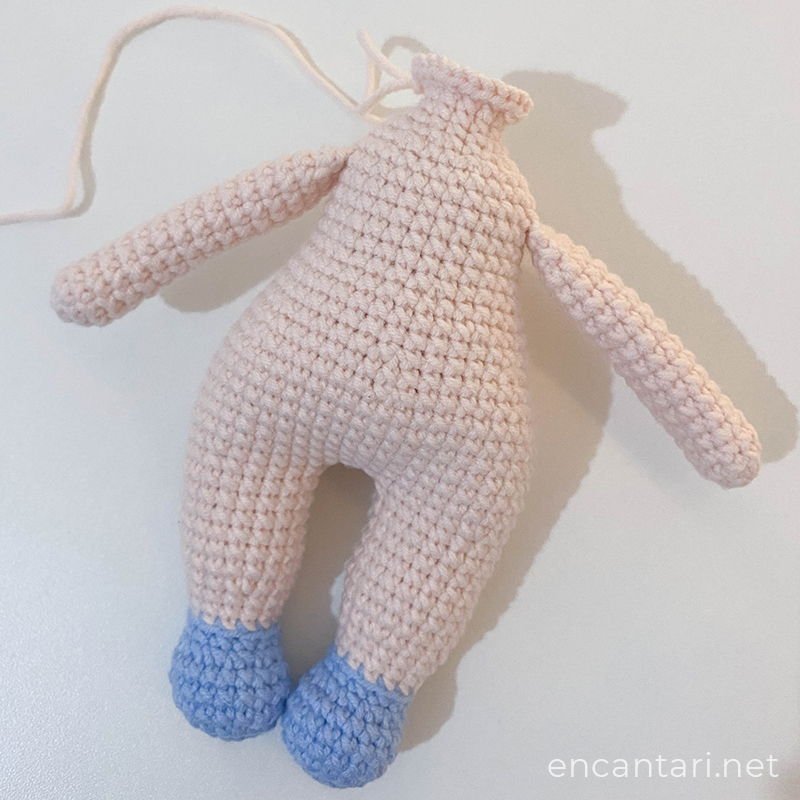
Now we’ll join the arms to the body.
38. Continue working on the body, sc in next 6 sts, sc in 4 sts of one arm and body at the same time, sc in next 11 sts on the body, sc in 4 sts of other arm and body at the same time, sc in next 5 sts on the body [30]

39. sc in each st around [30]
40. (3 sc, dec) x6 [24]
41. (2 sc, dec) x6 [18]
42. (1 sc, dec) x6 [12]
43-44. sc in each st around [12]
HEAD
Now we’ll make the doll’s head. Continue working on the body:
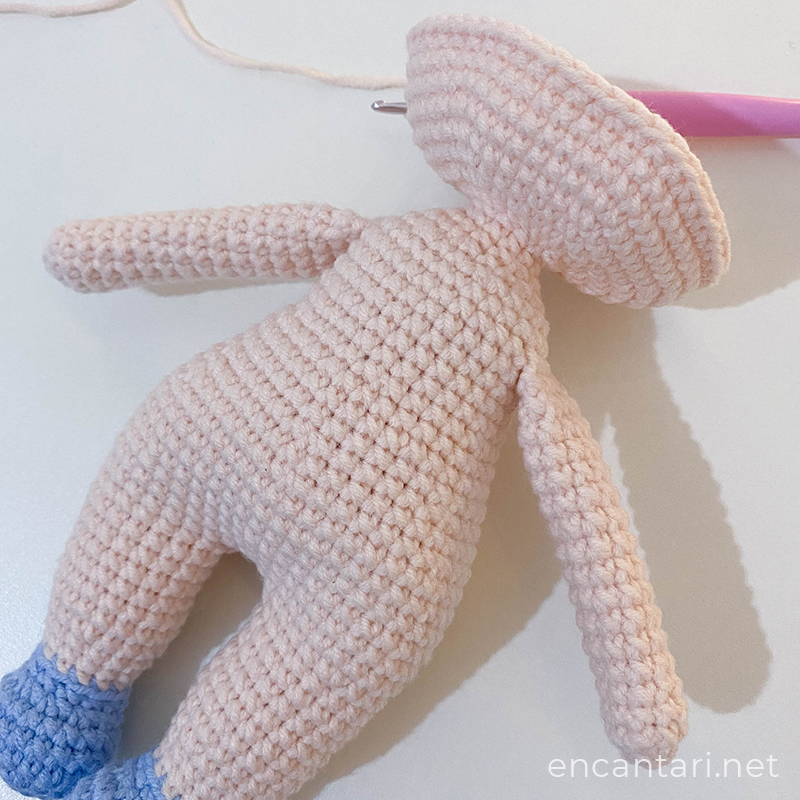
45. inc x12 [24]
46. (1 sc, inc) x12 [36]
47. (5 sc, inc) x6 [42]
48. (6 sc, inc) x6 [48]
49. (7 sc, inc) x6 [54]
50-60. sc in each st around [54]
Insert the safety eyes between rounds 52-53 with 7 stitches apart.
61. (7 sc, dec) x6 [48]
62. (6 sc, dec) x6 [42]
63. (5 sc, dec) x6 [36]
64. (4 sc, dec) x6 [30]
You’ll probably need something to support the weight of your doll’s head so it doesn’t bounce and go wonky. I’ll recommend you follow the pattern for the doll’s arm and make a third one, stuff it VERY firmly and insert this arm into the doll’s neck – this way you’ll have a nice and firm neck to support the doll’s head.
65. (3 sc, dec) x6 [24]
66. (2 sc, dec) x6 [18]
67. (1 sc, dec) x6 [12]
68. dec x6 [6]
Close the remaining 6 stitches with a tapestry needle, fasten off and hide the yarn tail.
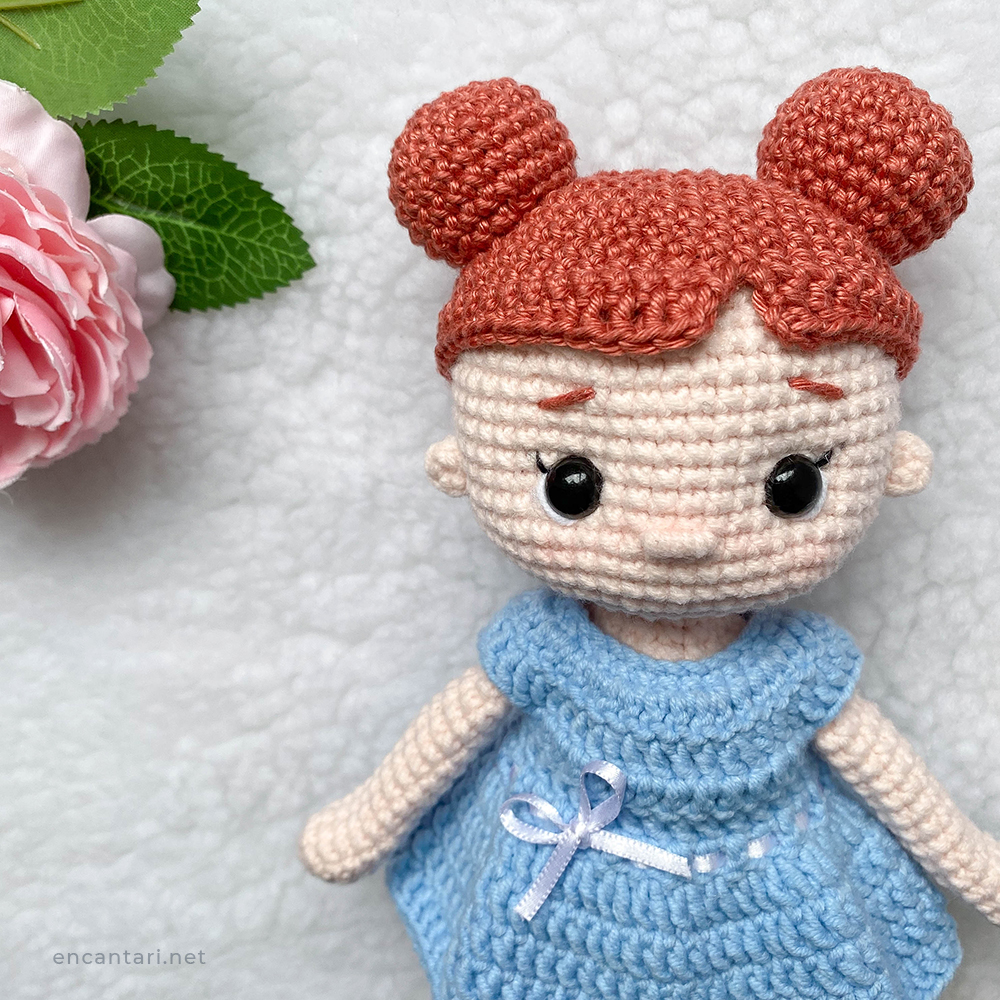
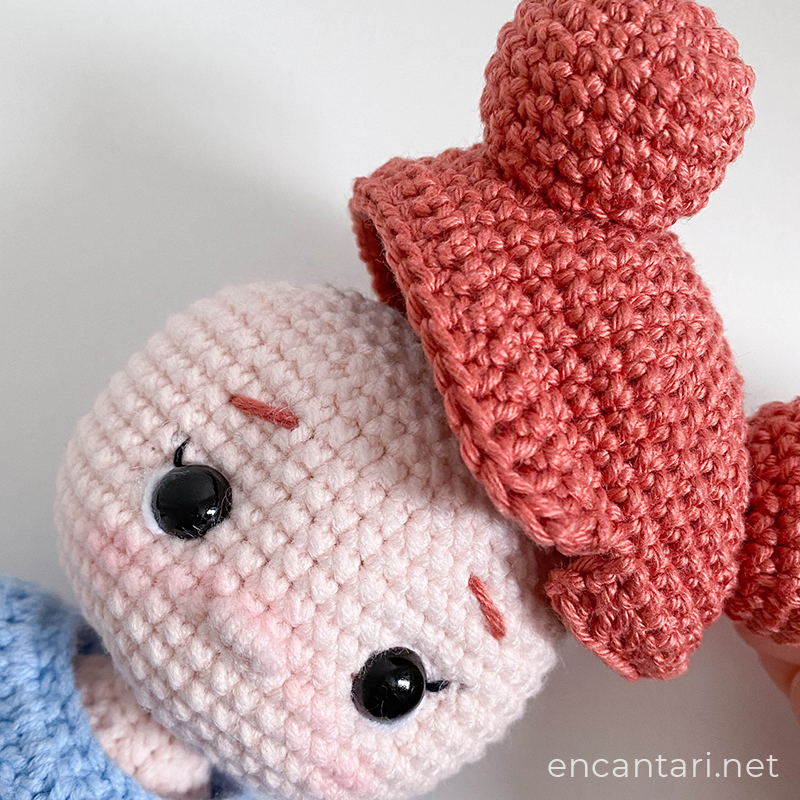
Embroider the nose, eyebrows and face details as you like.
The doll’s body is done.
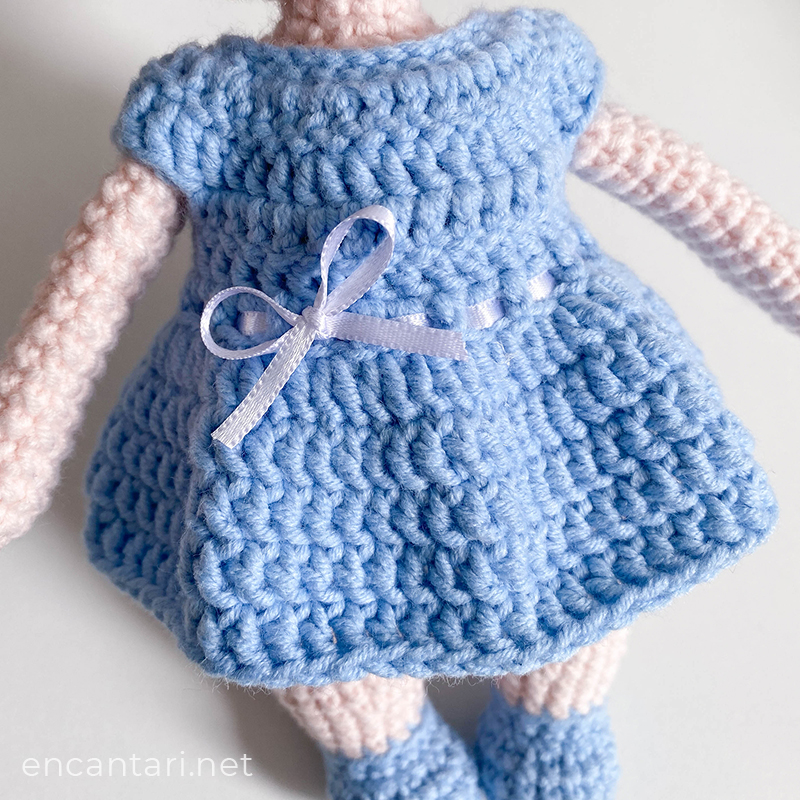
DRESS
In light blue.
At the end of each row, always ch 2 and turn your work.
1. Ch 31, sc in the 2nd from your hook and sc in each ch to the end [30]
2. (2 dc, dc-inc) x10 [40]
3. (4 dc, dc-inc) x8 [48]
4. 8 dc, skip 8 sts, 16 dc, skip 8 sts, 8 dc [32]
The skipped sts make the openings for each arm.
5-6. dc in each st around [32]
7. dc-inc x32 [64]
Slst on top of the 1st dc to join. Now you’ll work in rounds, always slst on top of the 1st dc to join and ch 2 to start a new round.
8-11. dc in each st around [64]
Fasten off and hide the yarn tail.
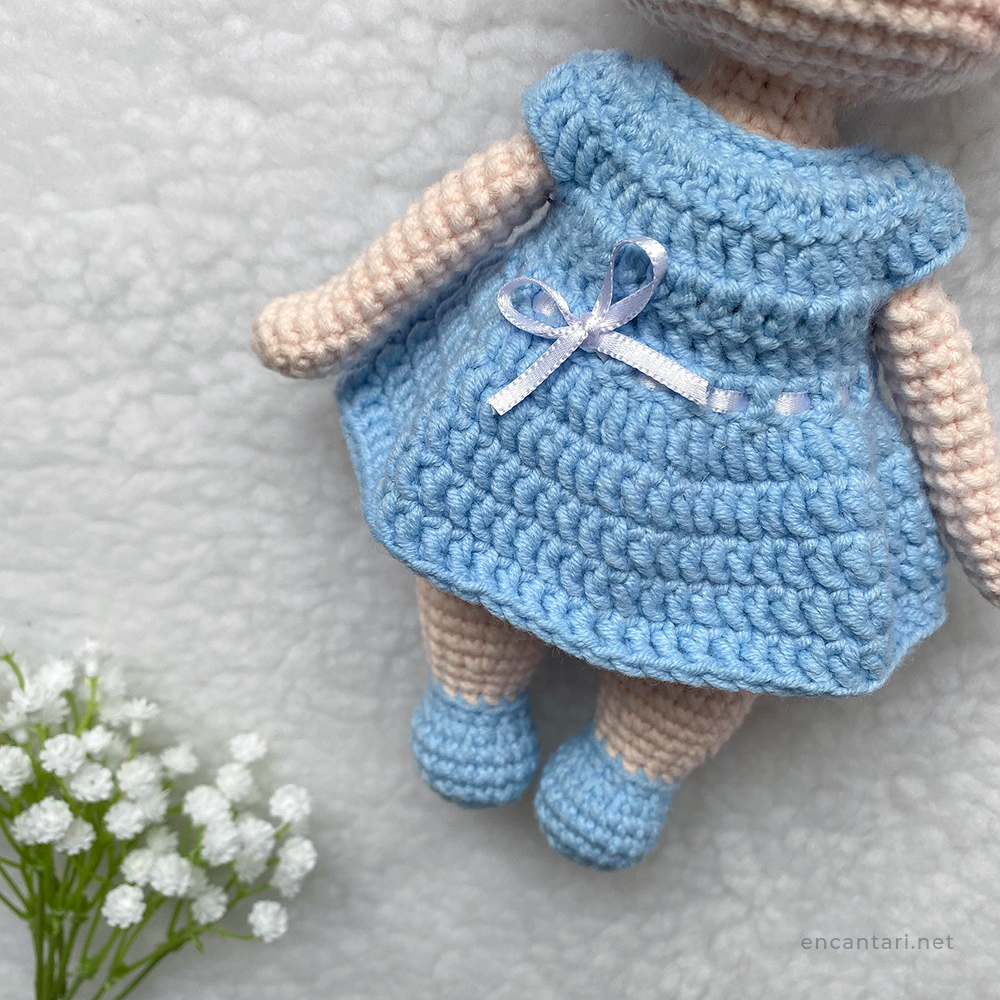
You can insert a satin ribbon between the sts in row 6 and make a little bow at the front of the dress.
HAIR
1. 6 sc in magic ring
2. inc x6 [12]
3. (1 sc, inc) x6 [18]
4. (2 sc, inc) x6 [24]
5. (3 sc, inc) x6 [30]
6. (4 sc, inc) x6 [36]
7. (5 sc, inc) x6 [42]
8. (6 sc, inc) x6 [48]
9. (7 sc, inc) x6 [54]
10-12. sc in each st around [54]
Now we’ll make the fringe/bangs.
13. Sc in next 30 sts, turn the work.
14. Skip one st, sc in next 53 sts, turn the work.
15. Skip one st, dc in next 2 sts, hdc in next 2 sts, sc in next 42 sts, hdc in next 3 sts, dc in next 4 sts, ch 1 and slst into the same st of the last dc you made, fasten off and hide the yarn tail.
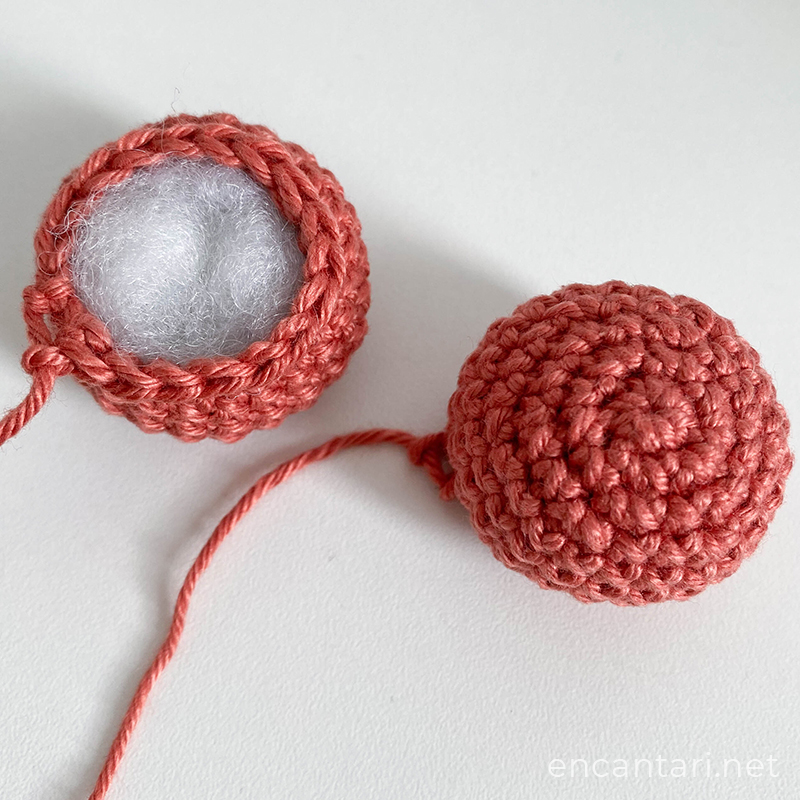
Bun
1. 6 sc in magic ring
2. inc x6 [12]
3. (1 sc, inc) x6 [18]
4. (2 sc, inc) x6 [24]
5-8. sc in each st around [24]
9. (2 sc, dec) x6 [18]
Stuff lightly. Fasten off and leave a long tail for sewing.
You can make 1 bun and sew it in the middle of the hair, or make 2 buns and sew them in each side of the hair.
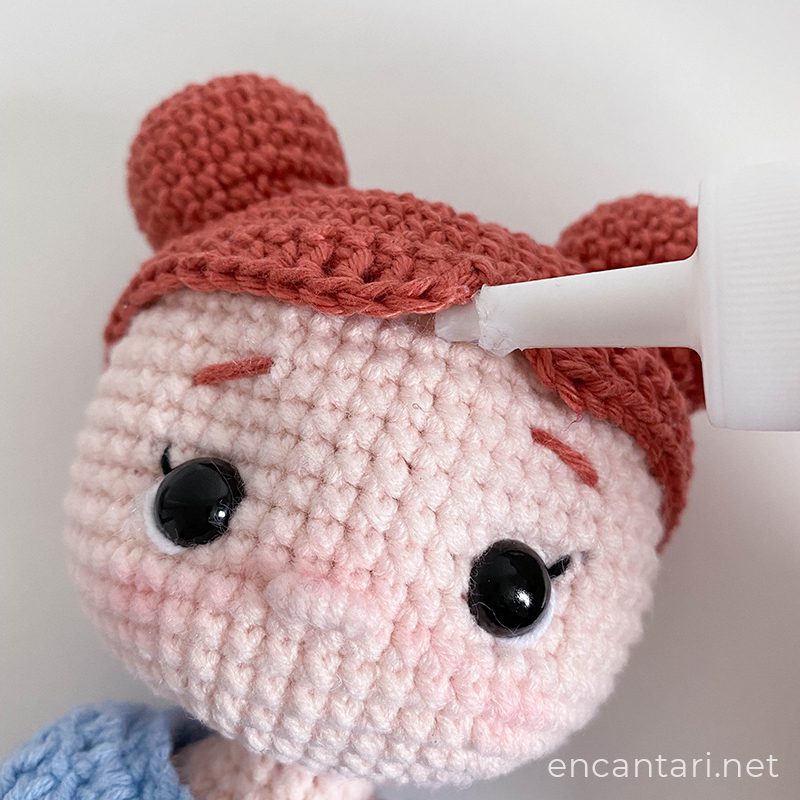
Sew or glue the hair into the doll’s head.

Celina is ready! I hope you liked her as much as I did creating her ♥
If you make Celina please tag @encantari in your photos and use the hashtag #encantari on Instagram!
You can also send your photos to encantari.mel@gmail.com
Happy crocheting!
COPYRIGHT
Celina Doll
Free pattern by Encantari – encantari.net
The pattern and photos presented here are property of Encantari. This pattern is for personal use only. Do not distribute it or sell it in any form. The pattern, or any of its parts, can not be reproduced, redistributed, reselled, translated, published, modified, shared, transfered or posted (free or paid) on internet or offline. Do not claim the pattern as yours. Do not claim you are the author of the pattern, even if you have made adaptations. You are allowed to sell up to 100 units of the finished product, as long as you credit Encantari as the original designer, and use your own photos to represent your work.
E-mail for contact: encantari.mel@gmail.com